
Facilitating an Effective Collaborative Design workshop
Introduction
A collaborative design workshop is a collaborative and interactive meeting to create UX design ideas together with project stakeholders. The key benefits are;
- You can explore a wide variety of ideas by gathering different experts.
- You can build consensus among the stakeholders to prioritise solution ideas.
- You can drive the project by making the stakeholders feel attached to the ideas.
If you are working in the Program and Project Delivery Group (PPDG), the best timing to run the workshop is when your project is in the steps below:
- Definition – Business Analysis/ Gather& Analyse Requirement
- Definition – Quality Assurance / Design Assurance
Overview
There are seven steps to run a collaborative design workshop. The first two steps are preparation for the workshop, steps 3 to 6 happen during the workshop, and the final step to wrap up.
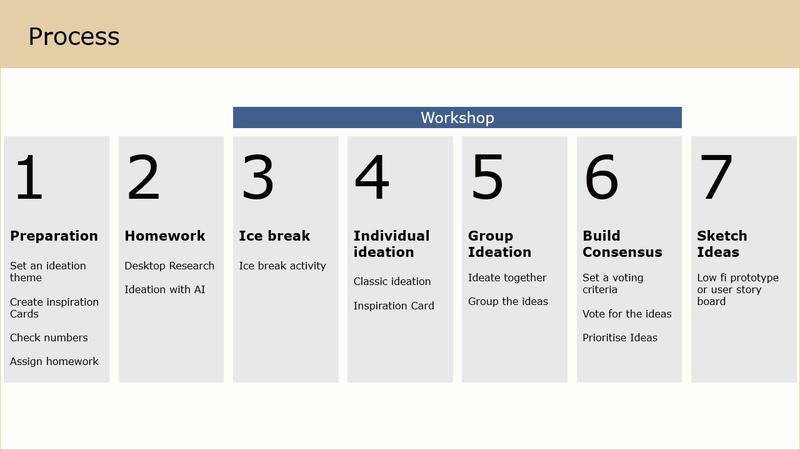
Step 1 - preparation: set and ideation theme; create inspiration cards; check numbers; assign homework. Step 2 - homework: desktop research, ideation with AI. Step 3 (in workshop) - icebreak activity. Step 4 - Individual ideation: classic ideation, inspiration cards. Step 5: group ideation: ideate together, group the ideas. Step 6: build consensus: set a voting criteria, vote for the ideas, prioritise ideas. Step 7 (after the workshop) Sketch ideas: low fi prototype or use storyboard.
Before the workshop
Step 1. Preparation: laying the foundations
Define a Clear Theme
Begin by framing the challenge as an open-ended question using a How might we…? framework. For example: “How might we make the library experience inclusive for all University of Oxford students?” Such questions encourage broad thinking and invite a range of perspectives.
Gather Inspiration
Prepare a set of inspirational cards—these might include images, keywords, or analogies from other fields. For instance, consider how processes in Formula 1 racing have inspired improvements in hospital emergency rooms. These prompts help participants think beyond the obvious.

Share Relevant Facts
Presenting key statistics can help ground the discussion. For example, knowing that “1 in 6 Oxford students has a disability” highlights the importance of inclusive design.
Step 2: Assign pre-workshop homework
Encourage participants to do some light research, initial brainstorming, and brainstorming with AI before the session. Please keep in mind that not everyone is good at creating ideas in a time-pressured manner. This ensures everyone explores ideas in their own comfortable manner and arrives ready to contribute.
The workshop
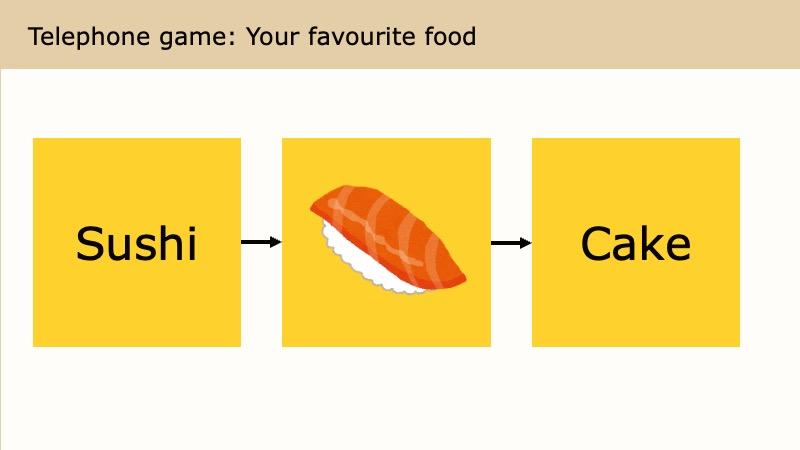
Step 3. Ice breaker: creating a comfortable environment
Start with a simple activity to help participants relax and get into a creative mindset. For example:
- The “telephone game” (passing a message around the group)
- Sharing your favourite app or first job
- Building something related to the theme using LEGO
Step 4. Individual ideation: generating ideas independently
Allow each participant a few minutes to write down as many ideas as possible, using one sticky note per idea. Encourage everyone to:
- Suspend judgment—there are no wrong ideas at this stage.
- Aim for quantity and variety.
- Build on the ideas of others.
- Use drawings if helpful.
Be a little flexible with timing here. A shorter timeframe lowers expectation levels and encourages a playful approach, which allows the participants to think out of the box and reduces fear of judgment. Usually, it works better to start with a short time and add more time if you observe the participants need more time.
Step 5. Group ideation: sharing and building together
Invite participants to share their ideas with the group. Then, use the KJ Method (Kawakita Jiro method) to cluster similar ideas and give each group a name. It is a method to find new insights, perspectives, and solutions by grouping similar information and giving names to the groups.
The key points are;
- Focus on the structure and/or value of the phenomenon. Don't start with an existing category.
- Let unique ideas standalone if there is no relevant group to add.

Step 6. Building consensus: prioritising ideas
Once you have gathered all your ideas, prioritise ideas so that you can find the next steps to carry out the project. Start with voting to give everyone a fair opportunity to express their thoughts and get an overview of the team’s preferences; then discuss the priority.
- Establish clear criteria for voting (for example, “most helpful for users with disabilities”). You can consider the technical, business, and user perspectives to define criteria.
- Give each participant a set number of votes to select their preferred ideas.
- Discuss the top choices as a group and agree on which ideas to develop further.

Design theme: how might we make the library experience inclusive for students at the University of Oxford? Voting Criteria: helpful for users with a physical disability; helpful for users with a learning disability; helpful for users without a disability. Votes per person: three for each category.
After the workshop
Step 7. Sketching ideas: bringing concepts to life
Transform the leading ideas into simple sketches or storyboards to stick the idea to the team. To sketch the ideas;
- Focus on the user’s journey—what problem does the idea address, and how does the design idea help?
- Keep visuals rough and straightforward; the aim is to communicate the idea, not to create polished artwork.
- Seek feedback from stakeholders and users and be open to refining or changing ideas as needed.
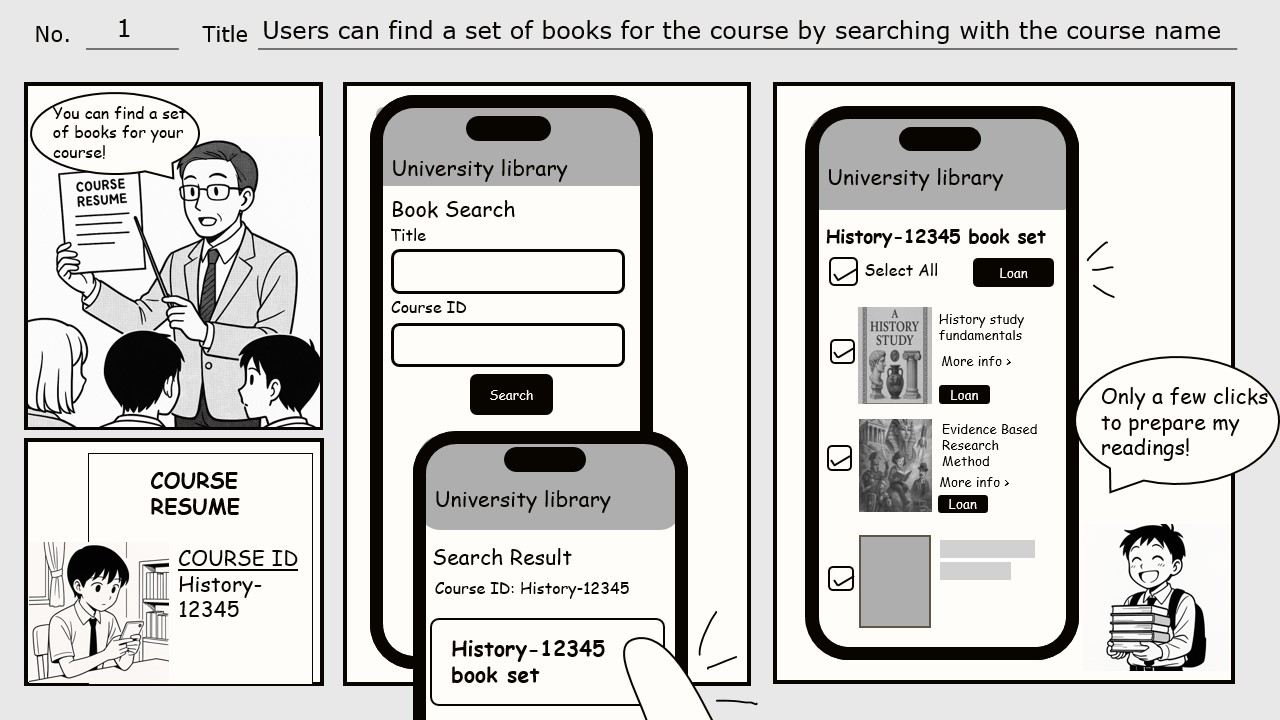
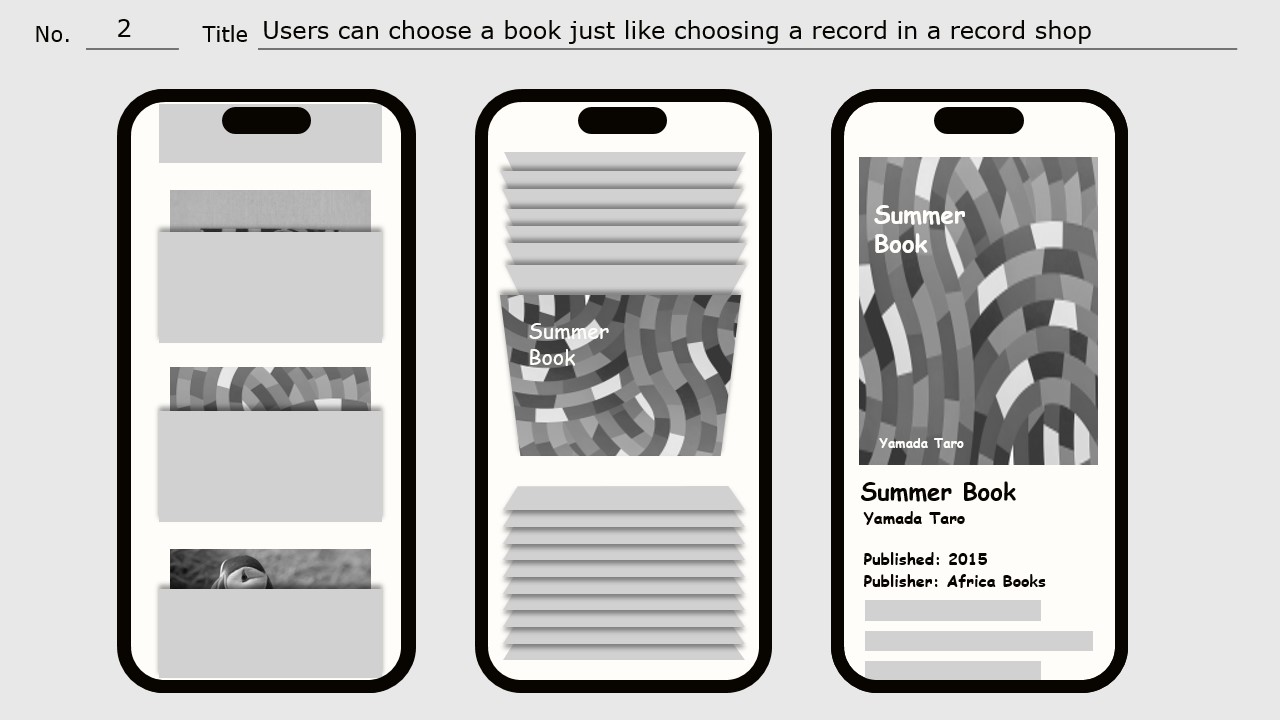
Storyboard examples
Tips for success
- Manage time wisely: keep activities focused but be flexible if the group needs more time.
- Support every voice: individual ideation before group discussion ensures everyone is heard.
- Prepare thoroughly: the more effort you put into preparation, the smoother the session will run.
- Start small if needed: if time is limited or participants are unsure, begin with a short session and build from there. You can start by taking 10 minutes in your project team meeting to brainstorm design ideas together and ask them to vote for their favourite ideas. Sketching ideas based on your first intention and sharing it with the team might help you to build trust with the team and engage them to run a proper collaborative design workshop.
Conclusion
A well-facilitated ideation workshop creates a safe, welcoming space where everyone can contribute ideas. With a clear structure, an inclusive approach, and a few creative tools, any team can generate valuable solutions—no specialist background required.
If you would like further support or are interested in joining a future workshop, please contact the UX Centre of Excellence.